How To Remove Background From An Image With Power Point
Probably one of the most irritating things when you designs something is that sometimes there are some photos that are very beautiful, but they have an inappropriate background. The photo would of course be better if the background would be removed. There are many programs and tools that will help you to do such things, for example Photoshop. However, if you don’t have Photoshop or any other such program, you may simply use PowerPoint for that purpose. So, in this article you will learn how to remove background from a photo with PowerPoint.
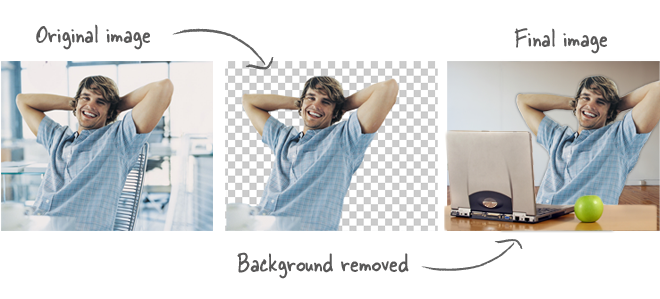
Photo credit: www.community.articulate.com
1. Insert the image into PowerPoint
2. Choose the picture, which background you would like to eraseRemember that those images that are bright and have high contrast with their background are the easiest ones to change.
3. In Picture Tools, just click the Format button and under the Adjust group select the Background Removal button. If you cannot find the button, just ensure that you clicked on the image. Another way to do is double clicking on the image and choosing the Format button.
4. Now it will try to automatically erase the background, however usually it does incorrectly.
5. In order to have the wanted result, select the lines and make them in a way that they include the section of the photo you would like to keep and exclude the section you would like to be erased.
6. In general, that’s all and after doing these things you will get the image you desire without any other workings.
7. However if necessary, you should do one or some of the things mentioned below.
● To show which sections of that photo don’t want to be erased, click on Mark Areas to Keep.
● To show which sections you want to be erased click on Mark Areas to Remove.
● If you regretted and you want to erase the other part, click Delete Marks and click again on the line in order to change it.
8. After finishing and getting the wanted result click Keep Changes in the Close group.
So, here are the steps of removing background from any image that you would like. Is it easy, isn’t it? Try it and share your thoughts or problems with us in the comments below.
Here’s another article you might like: Photographer’s Guide To Getting Your Backgrounds Right

No Comments